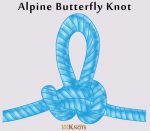
Butterfly Knot
A useful midline knot, the butterfly knot has its uses in glacier travel and rock climbing, where it is often used to tie the climber in the middle. It is also known as the Alpine butterfly knot and Lineman’s loop. Counted among the most secure knots, it can be done in just three steps, as instructed below:

How to Tie an Alpine Butterfly
Butterfly Knot
Advantages | Disadvantages |
|
|
Uses
- Typically used for attaching carabiners to climbing harnesses
- Securing the middle climber when three or more people travel to a rope
- Isolating a worn out part in the rope
The Double Butterfly Knot
As the name suggests, the double butterfly knot is similar to the regular butterfly knot, with two side by side loops instead of just one. So, it offers the same non-collapsible knot with the advantage of offering two slip-points at once.
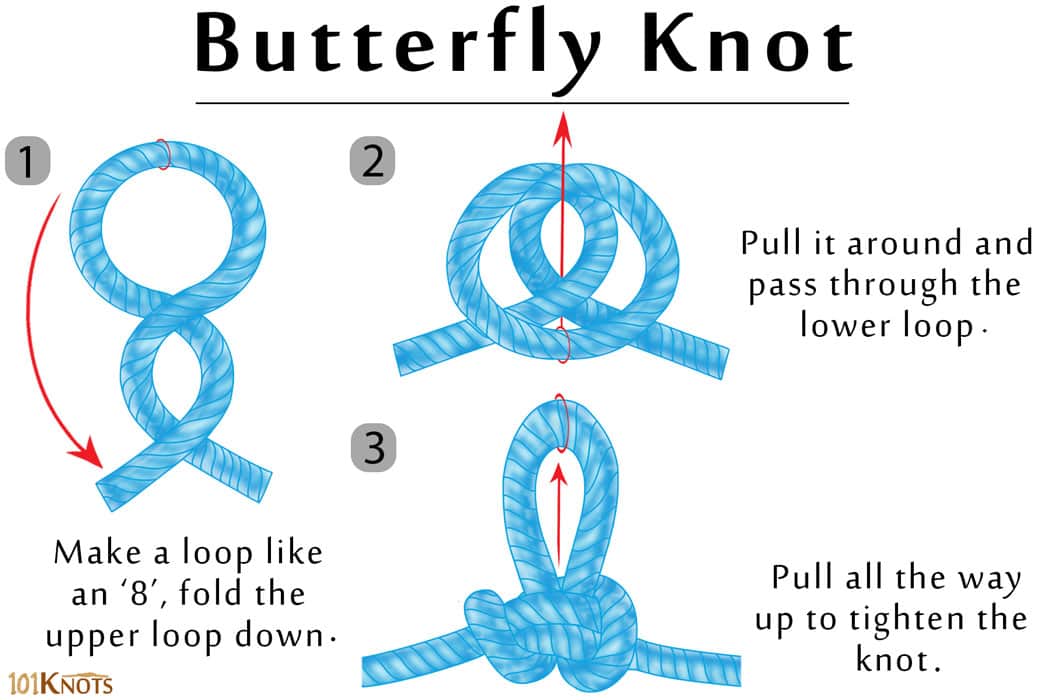
How to Tie a Butterfly Knot Step by Step
- Make a loop like an ‘8’, fold the upper loop down.
- Pull it around and pass through the lower loop.
- Pull all the way up to tighten the knot.

2 responses to “Butterfly Knot”
Leave a Reply
You must be logged in to post a comment.
Most Read
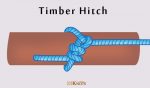 Timber Hitch
Timber Hitch The timber hitch is used to secure a rope round a post or any cylindrical...
well done work…clear illustrations
I am curious about the “false butterfly” referenced above – would you post a picture of it?