Cow Hitch
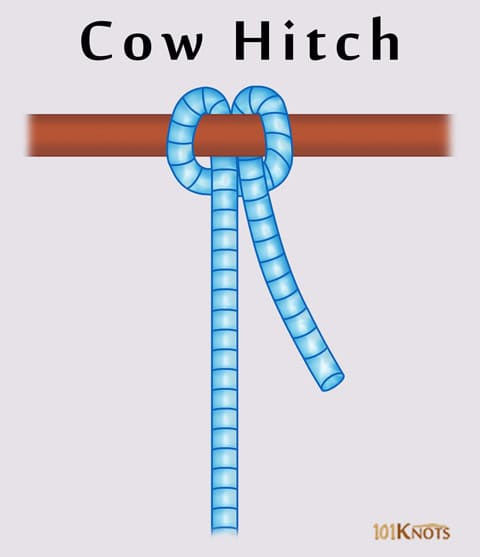
Cow Hitch
What Is It?
Also known as Lark’s head and ring hitch, the cow hitch consists of a pair of half hitches tied in the opposite direction. Besides the procedure shown below, it can be tied using loops. It is mentioned in The Ashley Book of Knots. It can fix loops of cable to the backs of pick-up trucks during shovel moves. It is useful when you have only the end of a long rope available.
How to Tie a Cow Hitch/Lark’s Head Knot
Cow Hitch/Lark’s Head Knot Instructions
Variations
- Cow hitch with a better half – It has a greater rope efficiency and is used to tie an eye sling to a tree. It requires less monitoring as it is more secure.
- Cow hitch variant knot – The modified version is stronger.
- Double cow hitch – For tying to buckles.
- Pedigree cow hitch – The working end is tucked inside the turns for added security.
- Reinforced cow hitch – Offers a better grip and increased security.
Advantages | Disadvantages |
|
|
Cow Hitch v/s Other Knots
- Lanyard hitch – Though has a similar look, it bears a difference in the way it is tied.
- Clove hitch – The 2 half hitches are tied in the same direction.
- Girth hitch – Has a similar appearance but is tied with a sling loop.
- Timber hitch – Needs a greater length of rope.
Uses
- To secure an animal to a pole.
- To secure a lanyard and jib sheets to a rope.
- Archery.
- Works well in securing hardware like rigging pulleys and Port-A-Wrap to trees.
- Climbing.
- Tied on arborist rigging pulleys for lowering large sections of trees.
- Making paracord water bottle holders and bracelets (cow hitch connections help in creating these).
- Fishing.
- In sutures.
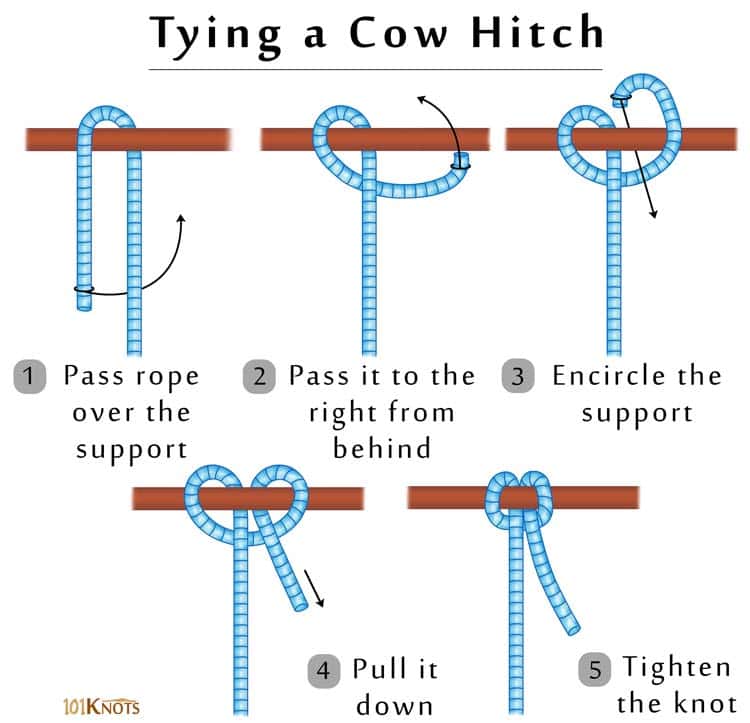
How to Tie a Cow Hitch Step by Step
- Pass rope over the support
- Pass it to the right from behind
- Encircle the support
- Pull it down
- Tighten the knot
Most Read
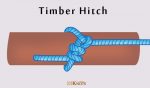 Timber Hitch
Timber Hitch The timber hitch is used to secure a rope round a post or any cylindrical...