Figure 8 on a Bight
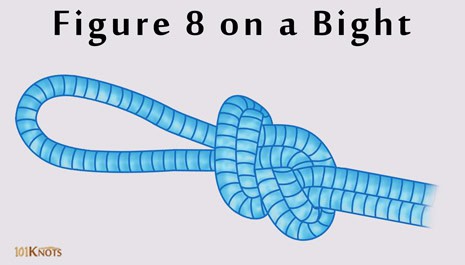
Figure 8 on a Bight
For this, the rope is doubled into a bight followed by tying the figure 8 knot. It is one of the ways of creating a figure 8 loop apart from the figure 8 follow through. The versatile knot helps in connecting a rope to a carabiner or climbing harness.
Tying a Figure Eight on a Bight
Tying a Figure Eight on a Bight
Tips
- Though shown here to be tied near the end of a rope, it can be made anywhere along the length by just taking a bight and proceeding with the above steps.
Advantages | Disadvantages |
|
|
Uses
- Caving
- Climbing
- Canyoning
- Rescue work
- In belay setups
- Decorative purposes
- Fixing a rope for rappelling
- Hoisting a chainsaw by firefighters
- In anchor building as it needs both hands to tie
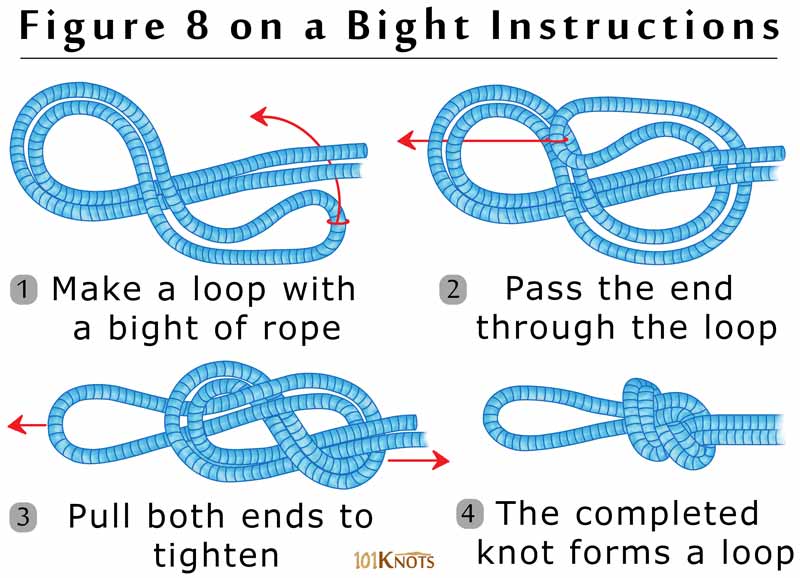
Steps to Tying a Figure 8 on a Bight
- Make a loop with a bight of rope
- Pass the end through the loop
- Pull both ends to tighten
- The completed knot forms a loop
Alternatives
- Directional figure 8 – Better for hauling something by the middle of a rope.
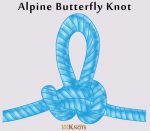
- Alpine butterfly knot – If the load is applied simultaneously in both directions, this one fares better as the figure 8 on a bight knot might roll over and deform itself. It is also easier to untie.
Similar Knots
- Figure 8 bend – With the figure 8 knot as the basis, doesn’t form a loop but joins 2 ropes.
- Double figure 8 knot – Forms a couple of loops instead of one.

Most Read
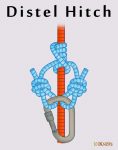
 Timber Hitch
Timber Hitch The timber hitch is used to secure a rope round a post or any cylindrical...