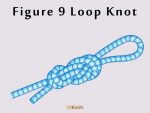
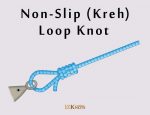
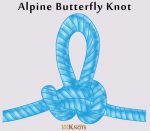
Figure 9 Loop Knot
This strong knot resembles the figure 8 on a bight in appearance with one difference in the tying procedure. That is the addition of an extra half turn before completing the knot. It is more suitable for smaller, flexible ropes than heavier, stiffer ones. It forms a fixed loop at the end of a rope.
How to Tie a Figure 9 Loop
Tips
- The knot should be dressed and tightened properly so tha outermost wraps sit snugly against the ropes they enclose. For dressing, the outer turns should be firmly pulled in and tightened.t two
Variation
- The figure of nine knot – Instead of a double strand of rope, as shown above, you can use the single end of a rope. In that case, you have a naked end instead of the loop. It is used as a stopper knot.
Advantages | Disadvantages |
|
|
Uses
- To attach a rappelling rope to a belay or anchor point.
- As an end knot in climbing.
- Caving.
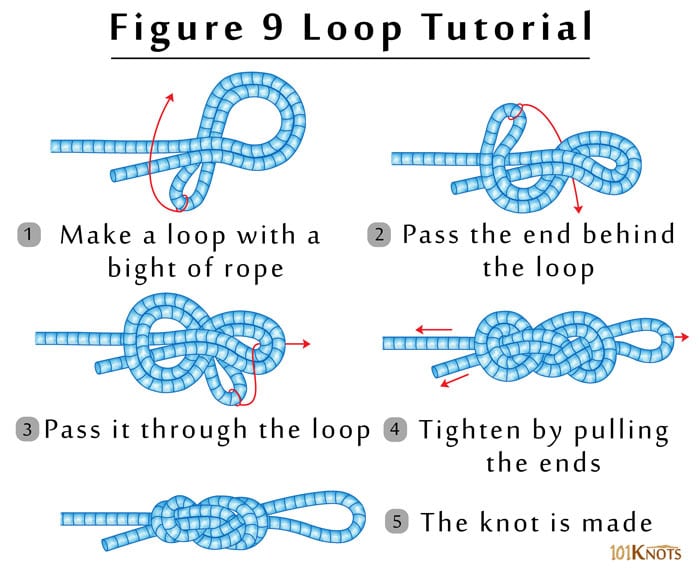
How to Tie a Figure 9 Loop Step by Step
- Make a loop with a bight of rope
- Pass the end behind the loop
- Pass it through the loop
- Tighten by pulling the ends
- The knot is made

