Girth Hitch

Girth Hitch
The girth hitch, also known as the strap hitch and bale sling hitch, is an easy and quick way to connect a cord or loop of webbing to a fixed point like your harness’s tie-in point, a carabiner or a tree. Called by the name alpine girth hitch by climbers who use it to eliminate the need of an extra locking carabiner, it doesn’t create any excess stress on the tying rope but reduces its strength by around 50%. It is sometimes confused with the cow hitch or Lark’s head that resembles it in its looks but is tied differently and without using a sling loop.
How to Tie a Girth Hitch
In the below diagram, we show you how to tie the knot with a pre-tied sling, runner or strap loop. However, if you have a regular rope, you can make it into a loop by tying its ends in a double fisherman’s knot or triple fisherman’s knot.
How to Tie a Girth Hitch
Tips
- It is not recommended to girth hitch your slings to bolts, or your personal anchor systems (P.A.S) to the belay loop on your harness due to a significant reduction in strength and wear and tear to your equipment.
- You can use a girth hitch with a figure 8 for canyoneering.
- You can dress the knot appropriately to make it resemble a square knot. This version is known as the Strop knot that is stronger when used to attach two slings.
Girth Hitch v/s Other Knots
- Basket hitch – Stronger.
- Clove hitch – Doesn’t use a sling and when used with a carabiner, it allows the rope on both the sides of the hitch to be easily adjusted without untying the knot.
Uses
- Building tree anchors for tree climbing.
- To join two loops. However, since the loss of strength is a concern here, you can either apply the above square knot version or better use a carabiner instead of the hitch.
- To set up top rope anchors for climbing. You can also use it to sling in your camera.
- Anchoring slacklines.
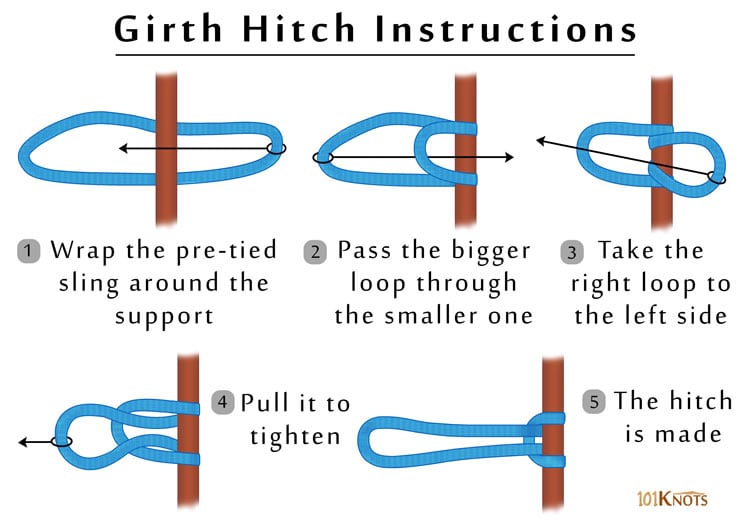
How to Tie a Girth Hitch Step by Step
- Wrap the pre-tied sling around the support
- Pass the bigger loop through the smaller one
- Take the right loop to the left side
- Pull it to tighten
- The hitch is made
Most Read
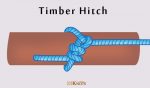 Timber Hitch
Timber Hitch The timber hitch is used to secure a rope round a post or any cylindrical...