Turk’s Head Knot
What Is It? – An Introduction
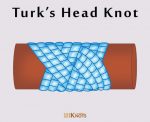
The ornamental Turk’s head knot might be a tad difficult for many to master. But once you have successfully accomplished the task of knot tying, the looks of it would be a pleasure to behold. The elaborate knot bears a braided structure. As per tradition, the scout knots were not secured. This was because they had to be undone for using around the camp or to produce fire on rubbing. But the modern scenario demands a secure finish as the ropes now-a-days slide easily. Since modern ropes also melt easily it would be a good idea to fuse ends with fire. In that case, you have to be wary as molten nylon is very hot.
How to Tie a Turk’s Head Knot
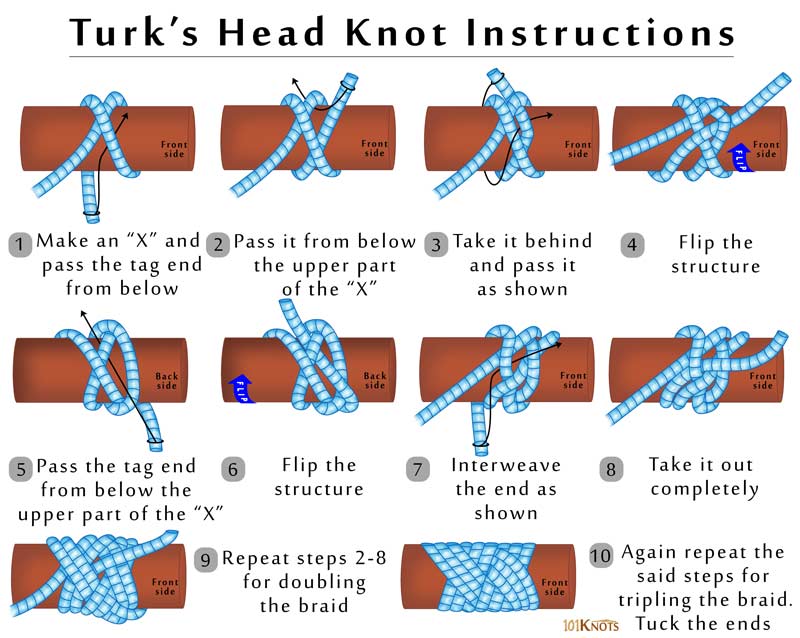
An easy version with 3 strands is shown here that can be modified to form several other tougher variations with 5 or 6 strands.
Tips
- The knot is usually tied around the hand. However, it is tied around a cylindrical wooden piece here just for demonstration purposes.
- It forms a closed loop.
- Can be made with paracord.
- The interwoven knot owes its name to the resemblance of the turbans wore by Turks.
- Though generally made around a cylinder, it can be given a flat, mat-like shape.
- A Gaucho knot can be formed by expanding a Turk’s head.
Variations
If you have a large enough length of rope you can have many more braids. There may be more strands of rope employed in the creation of the braids and the number of times the end follows the lead can be modified for a long knot.
Uses
- As a grip wrap
- Making jewelry like bracelets and rings.
- Making a string of beads like a Rosary.
- Creating lanyards, knot pillows and whips.
- As a woggle or slide for scouts’ scarves.
- As a protection against chafing.
- The spherical form accomplished by using 4 braids without any follow around creates a string of beads.
- To signify the king’s spoke of a ship’s wheel. When the said spoke is upright the rudder is in the middle position.
Video
In this video tutorial you are shown how to tie a 5 lead 4 bight or a 5×4 Turk’s head knot. It is worth mentioning here that you get the number of bights by counting the number of scallop shaped crossings at the top of the knot. To know the number of leads, imagine a vertical cross section of the knot revealing the different parts of the knot. Count them and you have the leads’ total. Similarly you can make an 11×7, 13×4 and 16×3 knots.
Steps to Tying a Turk’s Head Knot
- Make an “X” and 2 pass it from below
- Pass it from below the upper part of the “X”
- Take it behind and pass it as shown
- Flip the structure
- Pass the tag end from below the upper part of the “X”
- Flip the structure
- Interweave the end as shown
- Take it out completely
- Repeat steps 2-8 for doubling the braid
- Again repeat the said steps for tripling the braid. Tuck the ends
4 responses to “Turk’s Head Knot”
Leave a Reply
You must be logged in to post a comment.

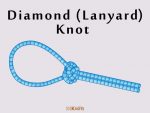
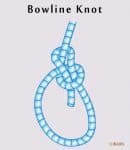

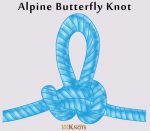
really, really helpful
Is it possible to use this to cover the end of a cylinder?
We don’t think so since it forms a loop-like structure that is best made around a cylinder, not at its ends.
If worked tighter can also be used as a button on leather clothing. I have done so on a total leather outfit that I made. Buttons were used to hold belt loops and also for buttons on the pant fly. Also used to fasten bead work to the back and front shoulders as well to fasten a removable beaded neck piece on the shirt.